cheap family recipes
feed a family of 4 for less than £200 a month
Homemade Bread
Home Made Bread
Absolutely delicious, there’s nothing quite like bread straight out of the oven!
I have made this bread with the 40 minutes rising time and it was delicious, but I found the finished loaf rather smaller than I wanted. This may have been because the dough didn’t rise to the top of the tin in the 40 minutes
So the next time I made it, I left the loaf to rise until it did reach the top of the tin. This took several hours, but resulted in a loaf that was quite a bit bigger, and the extra time proving provided extra flavour too
I realise that several hours every time you make bread is probably not feasible for busy families following the planner, so tried another 3 ways
Bread maker white bread
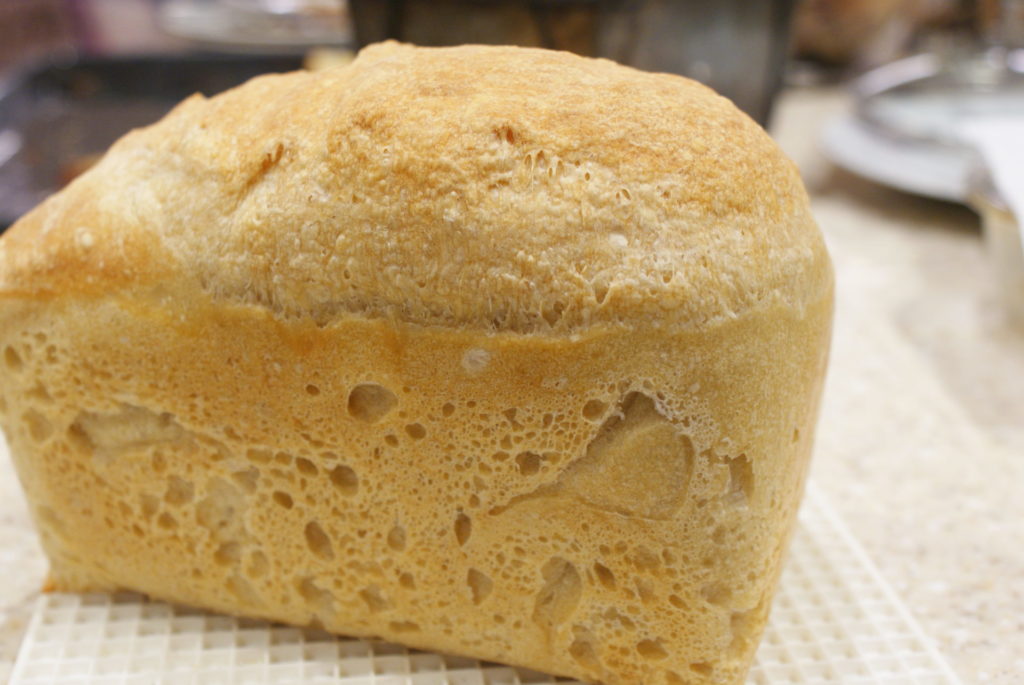
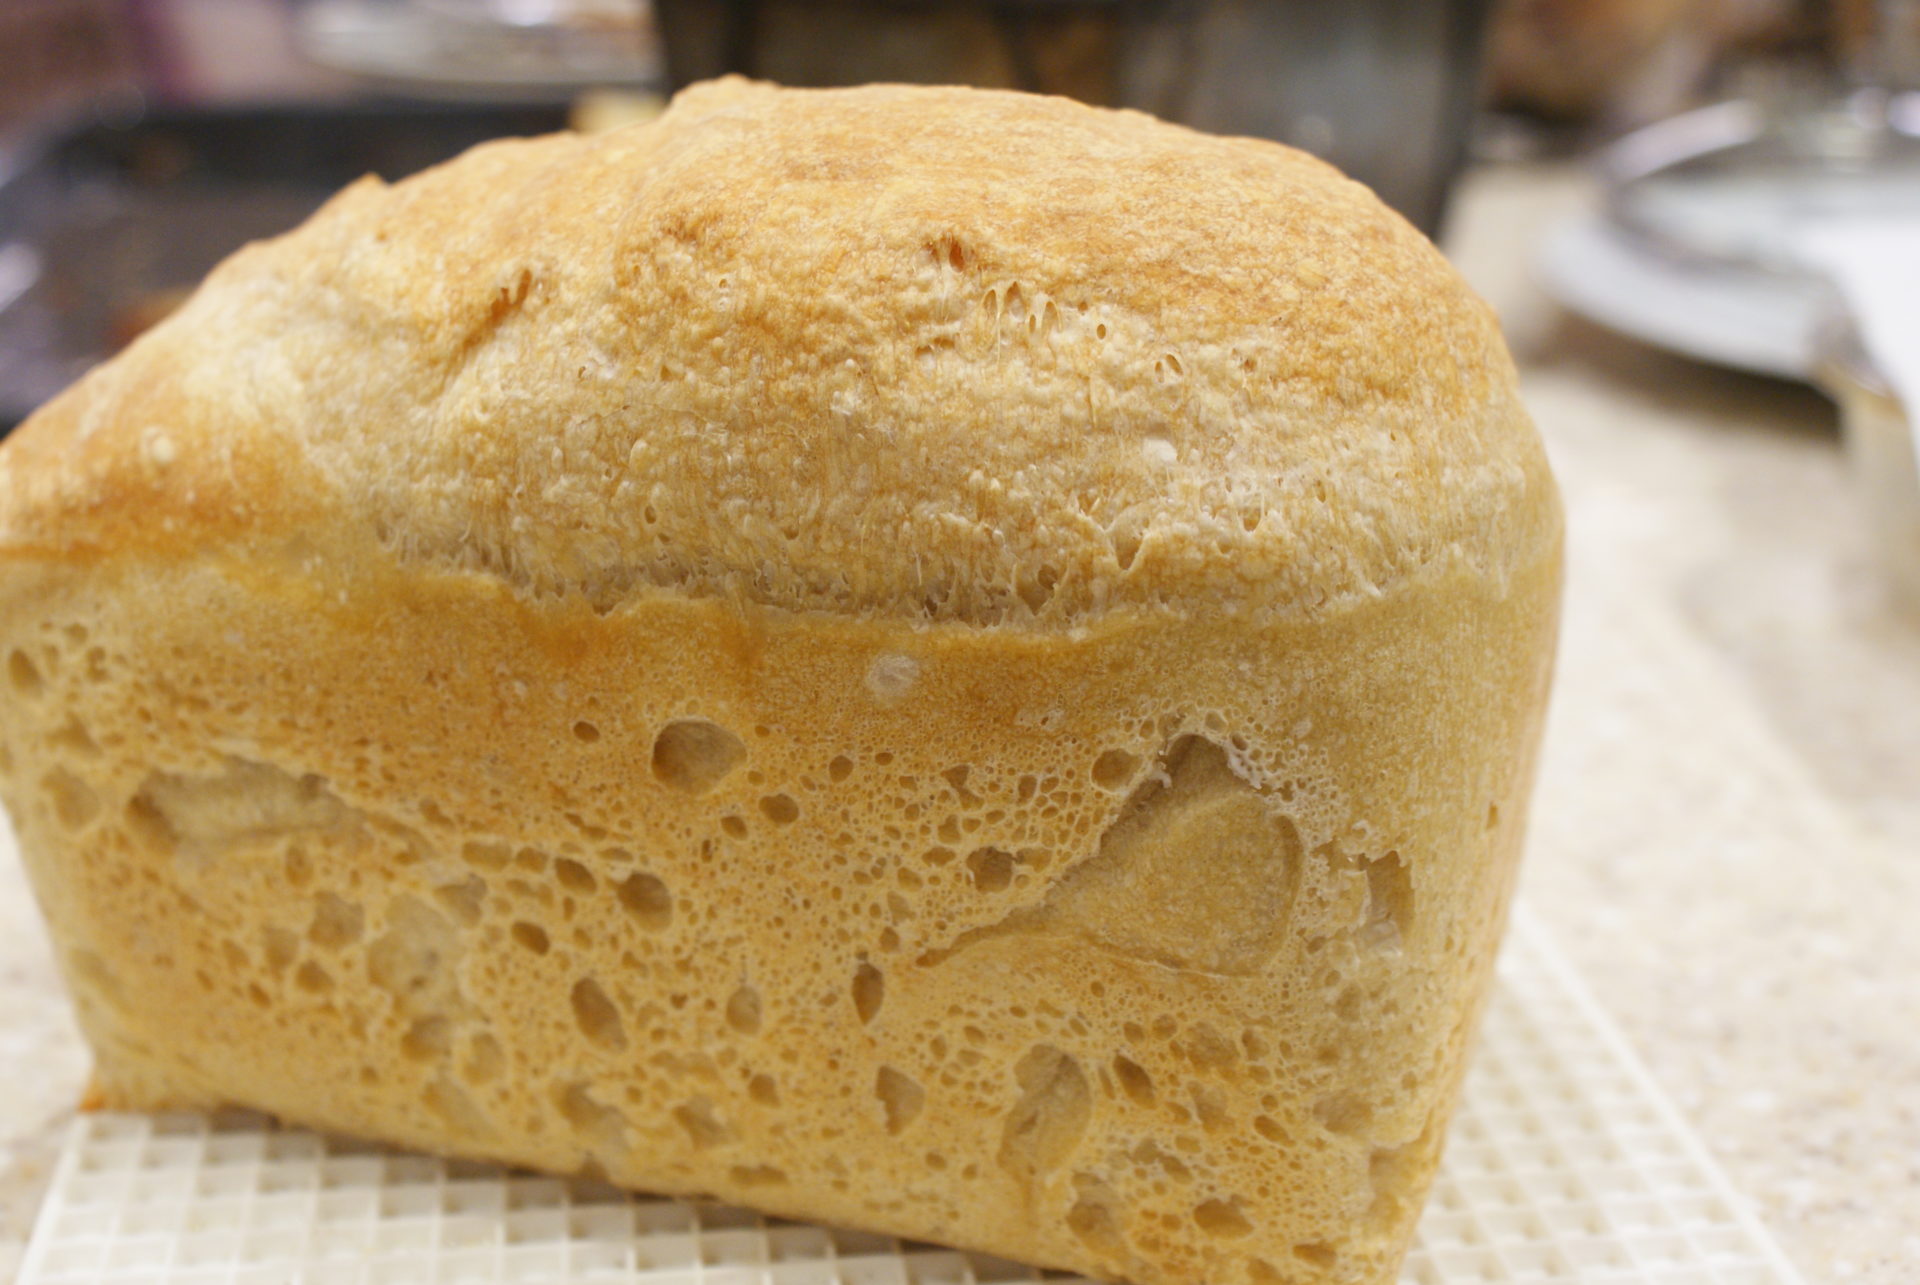
The first thing I tried was to use my breadmaker. Exactly the same mix, for 1 loaf only of course! The resulting loaf was very light and even bigger than the last one. If you are lucky enough to have a breadmaker, you could leave it on overnight, so that the loaf is cooked first thing. Leave it to cool and firm up while you’re at work
Do this several nights running, so you can build up a supply of bread. Putting each loaf, sliced and wrapped, in the freezer, ready for when you need it. Loaves are best sliced the day after they are made. They are rather soft on the same day and you end up with thick door steps
So, successful, but reliant on an expensive bit of kit
Leave it overnight, cook it in the morning
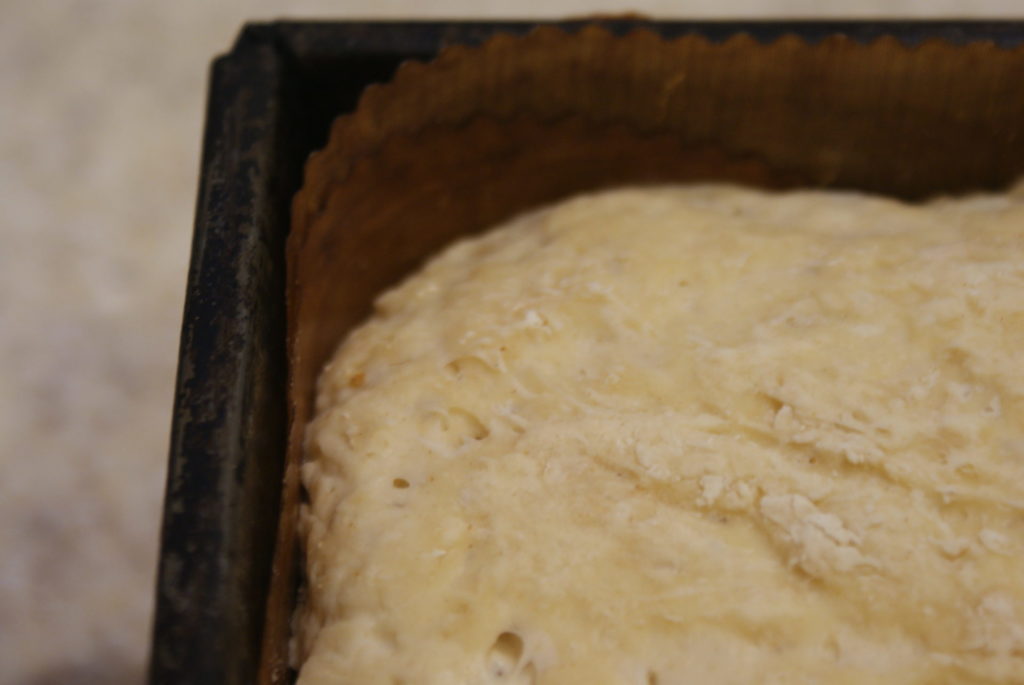
The dough rose to this height, left to prove in the fridge overnight
The next thing I tried was to make the dough, put it in the tin, then pop it in the fridge, ready to be cooked the next day. I made it in the evening, about 7pm. At 8am the next morning, it looked like this. Still not at the top of the tin.
I just mixed everything together, without activating the yeast, using water straight from the tap, and without warming the flour, so cutting down on the time a bit
I cooked it at 180c fan, and allowed another 10 minutes as the dough was fridge cold.
It was surprising that there was no oven ‘spring’, but it worked just fine
You could of course do this the other way about, make the dough in the morning, put it in the fridge, and cook it when you get in. Or you could even make the dough when you’ve got time, and bake it up to 1.5 days later. I wouldn’t leave it longer than that, the yeast will make big holes, and maybe collapse at the top
You could make a batch and stick it in the fridge, covered, where it will sit happily for a week without any further attention. After a week it will need a handful of flour and a splash of water as the yeast will need feeding. It will also start to turn into sourdough
When you’re ready, punch back and put into tins as you would usually do. Leave to rise to the top of the tin and bake in the normal way. You could bake 1, 2, 3 or 4 loaves at once this way, entirely up to you
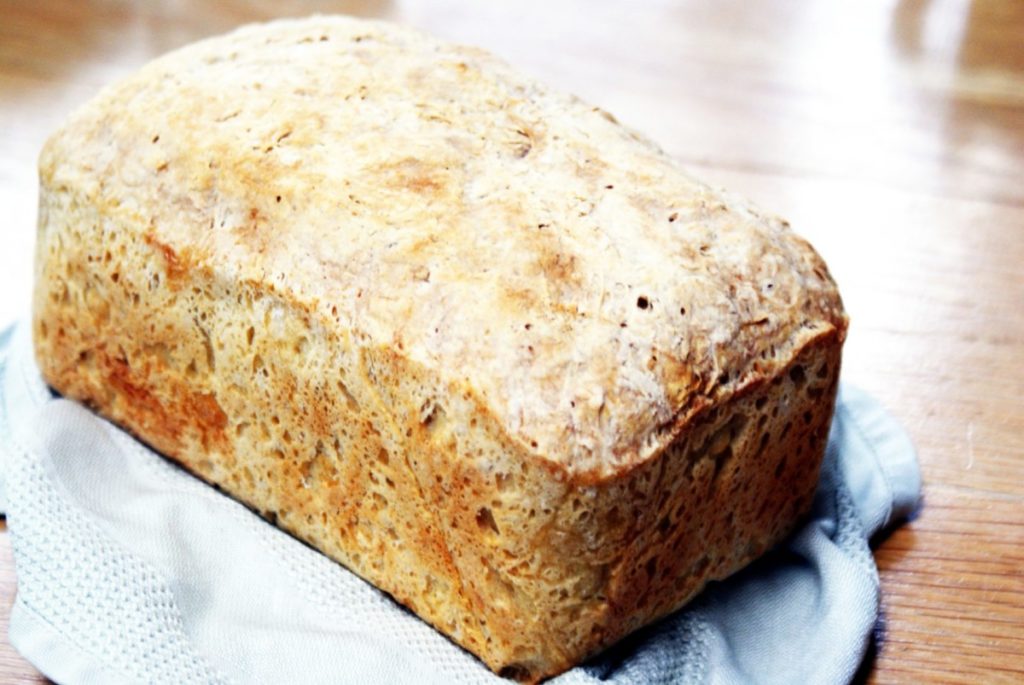
Making bread in a slow cooker
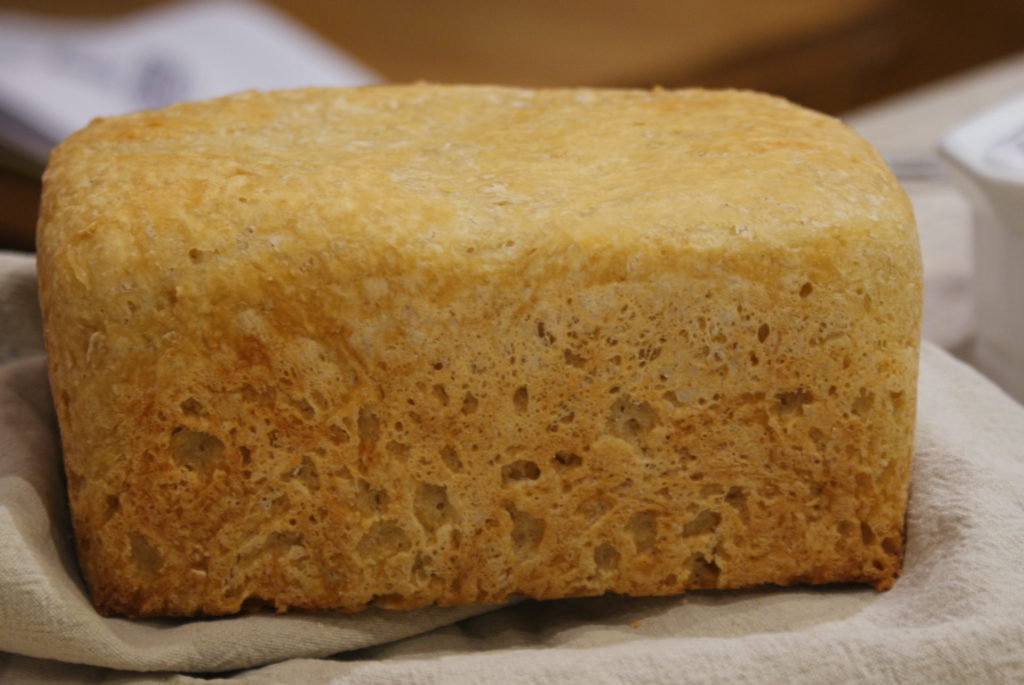
The final way I tried was using the slow cooker.
I made a 1 loaf mix in my usual way, just bung everything in a bowl and stir, no need to knead. I had a large slow cooker, so decided to try baking it in the same tin I use for baking in the oven.
The dough was made at 8am and popped in the fridge. At 5pm, it was taken out and stood inside the slow cooker, on top of a folded silicone cake liner. I hoped the dough would rise a little more to the top of the tin in this time, which indeed it did. The slow cooker was not turned on yet.
After an hour, I flipped the slow cooker switch to on, on High. Bread needs to be cooked for about 2.5 hours in a slow cooker. Try it after that time, knock the bottom to see if it sounds hollow. If not, pop it back in for another half hour
That slow cooker has now gone bang and my new one is a lot smaller, 3.5 litres. My loaf tin wouldn’t fit in it, so I tried a different way.
I put a circular silicone cake liner in the base, and a silicone cake tin liner that fits the sides of a cake tin around the sides of the crock. Made the dough, popped it in and left it overnight for 12 hours. Not in the fridge this time – not enough room! Just left it on the worktop.
I used 500g of flour and 320ml water, as the loaf would have been a flat circle using the usual 380g
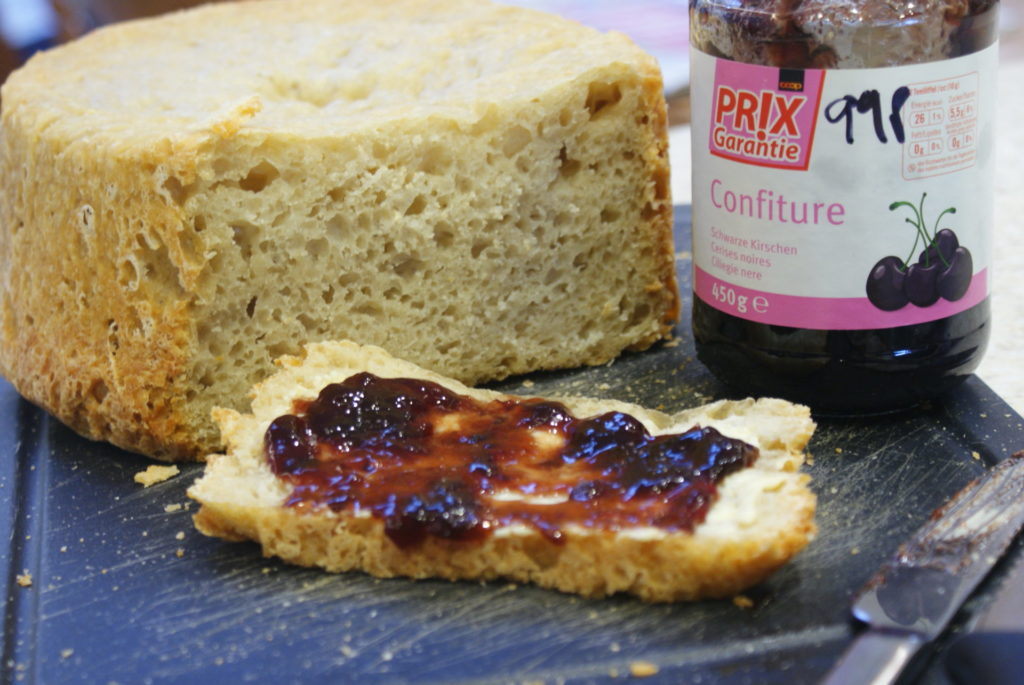
12 hours later the dough had risen beautifully, filling the crock pot just enough. Any more flour would have been too much. The slow cooker was turned on to High and left for 2.5 hours
It smelled wonderful. On turning out the loaf, it had stuck a little to the bottom where tiny bits had made their way through little gaps. So I think I’ll use a little baking parchment as well next time
The loaf didn’t sound hollow when I knocked it, so it was turned over to brown the top a bit and put back in for another half hour. On reflection that step wasn’t really necessary.The top and bottom never did sound hollow, but the sides were beautifully crispy with the required ‘knock’.
The long proving time gives slow cooker bread a good flavour and it couldn’t be any easier!
Ingredients
- 1.5 kg white flour bread flour
- 15 g yeast Allinson's
- 3 tsp salt
- tsp sugar
- 1 litre very warm water 1.06 litres
- A little oil to grease your tins
Instructions
- Warm the flour in the oven on gas 1 first. This takes about 10 minutes
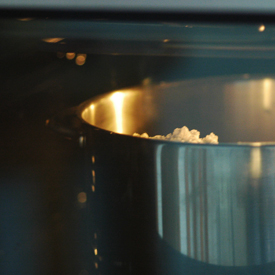
- Activate the yeast according to instructions on packet. If your packet does not specify, activate by mixing the yeast and the sugar in a small cup of hand-hot water, using water from the total amount to be used, leaving it until it forms a foamy head as is shown in the picture.

- If you are not making the full quantity of the recipe, always use a minimum of 1 tsp (5g) of yeast
- The water temperature should be between 40°C - 46°C (105° F to 115° F). Use an instant read thermometer if you have one, if not, test the water against the inside of your wrist by holding it under the tap it should feel very warm but not hot.
- Add salt to the warmed flour and mix in well.
- Add the warm water (including the water in which you activated the yeast), gradually until you get a not too slippy dough.
- Mix by hand, or with a spoon. No need to knead.
- Put a quarter of the dough into each of 4 greased or lined loaf tins. Silicone loaf tins are great if you have these already.
- Leave in a warm place to rise for 40 ish mins til dough peeks about 1 cm above the top of the tin.Click here to start a 40 minute timer
- Bake for 40 mins at 220C/200C fan/gas 7 or until browned on top and sounds hollow when tapped with a knuckleClick here to start a 40 minute timer
- If the bread does not sound hollow when tapped, pop it back in the oven, direct on the oven shelf, for a few more minutes.
- Try and resist eating it when hot and crispy out of the oven - although it IS one of life's great pleasures, so I won't blame you if you do!
Equipment Needed
Notes
Nutrition
Why Not Try....?
Vegan Tomato and Basil Soup
cheap family recipes feed a family of 4 for less than £200 a monthVegan Tomato & Basil SoupThis fresh and delicious tomato and basil soup is offered as an alternative option in the Celebration Week Planner, but can be enjoyed at any time, and as it uses tinned...
Creamy Parsnip Soup
cheap family recipes feed a family of 4 for less than £200 a monthCreamy Parsnip SoupCreamy parsnip soup, such a classic Christmas flavour, part of the Christmas week meal planner. Easy to make, warming and comforting What do I need to make this creamy parsnip soup ▢...
Tomato Relish
cheap family recipes feed a family of 4 for less than £200 a monthTomato RelishIf you are following the vegan monthly meal plan, this tangy homemade tomato relish is used as a condiment whenever you would like to use it. There is no particular use specified in the...
Take care of your family and your budget
Before putting together our meal planners we surveyed over 600 people to ask when faced with a tighter budget, which things they would struggle to give up.

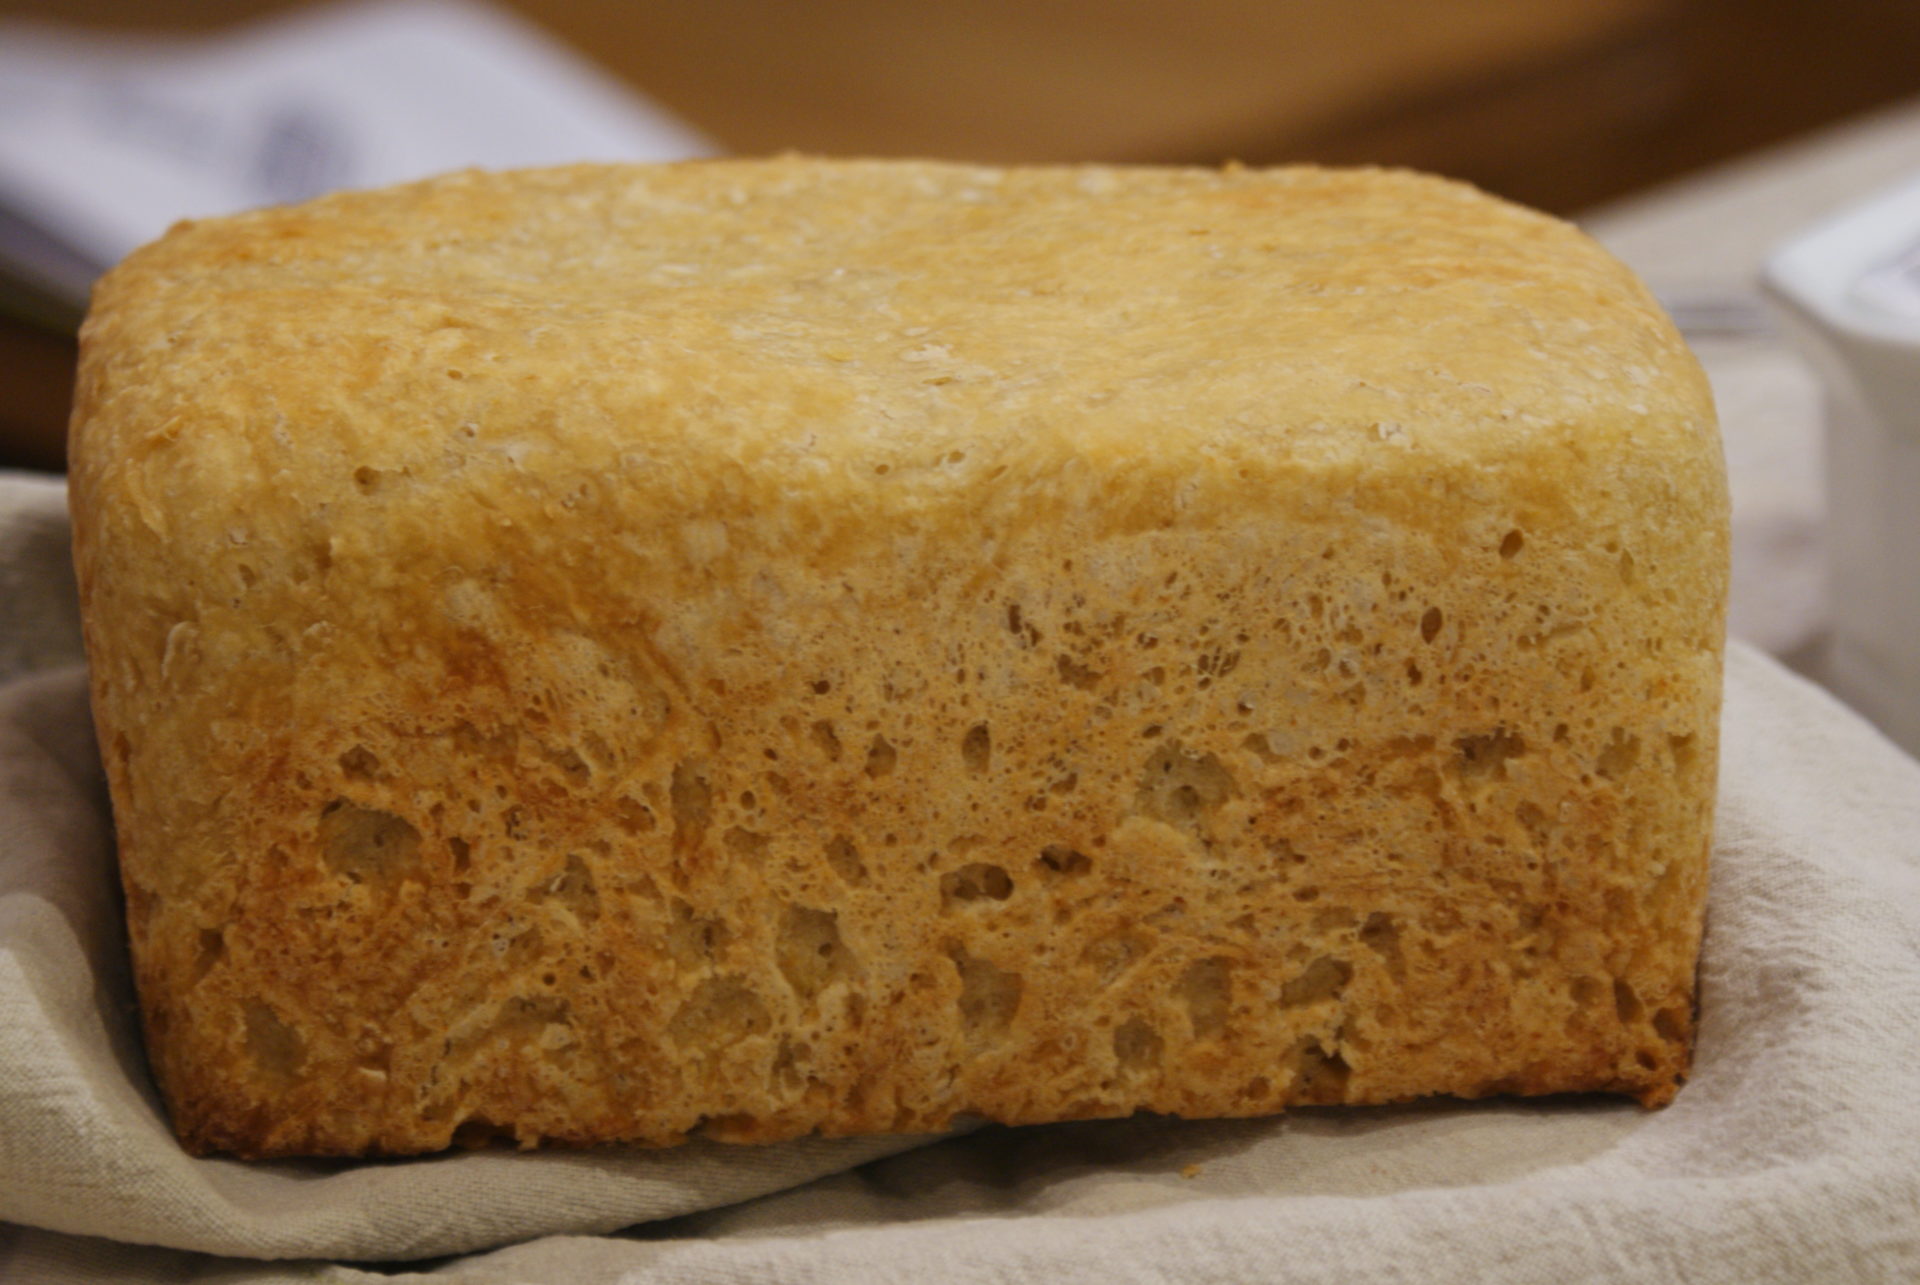




very useful pictures. (since thectwo kneeding-knives of the electric breadmachine are missing, I may give the slow cooker méthod a chance, but do use silicone, instead of à metal loafpan.
Marjolyn – let us know how it goes 🙂